This is a brief exploration of making a graphic response to data communicated from the sensor input project from last week.
It utilizes the FabKit board that contains 2 step response circuits, a phototransistor for light input and an LED input circuit for light input in addition to output.
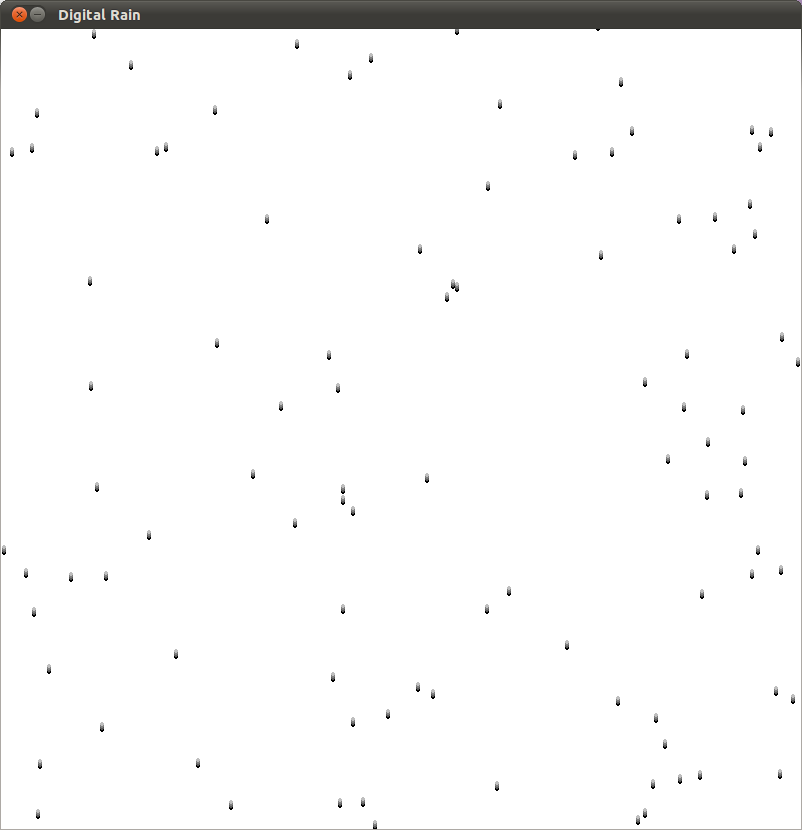
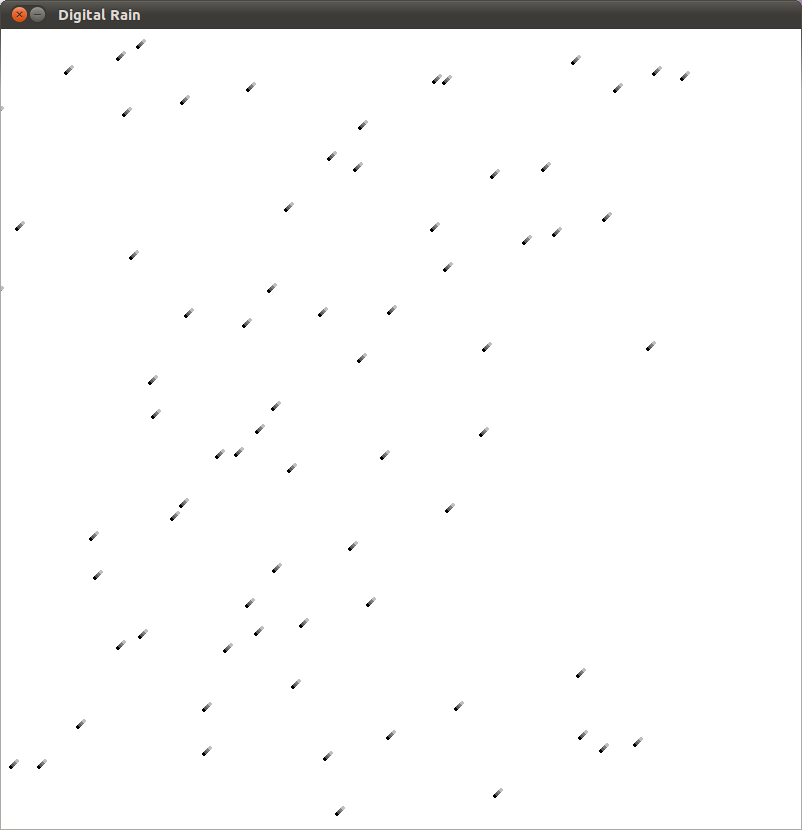
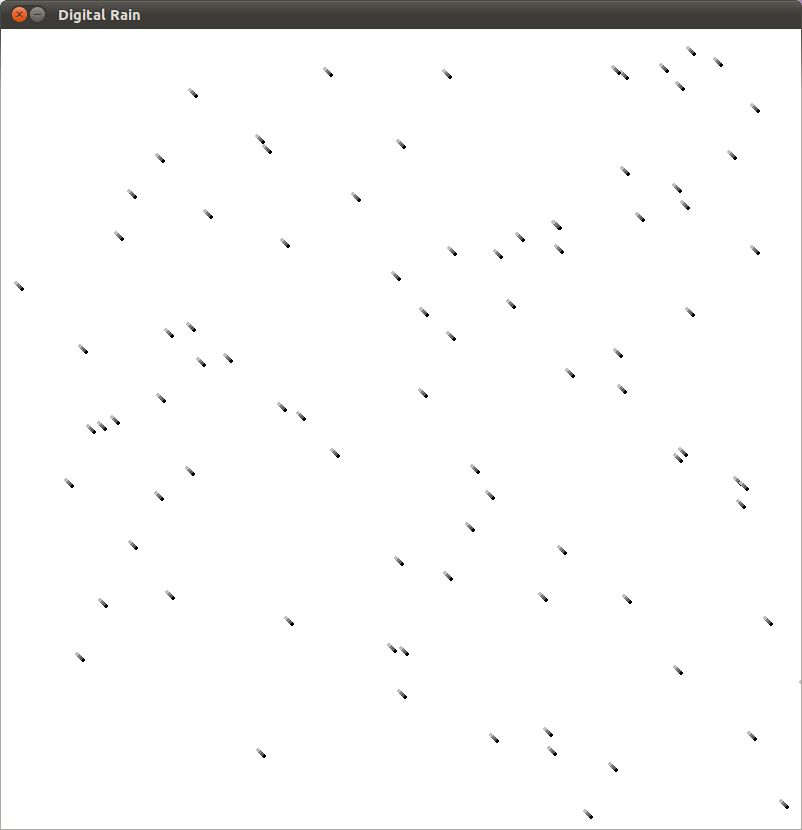
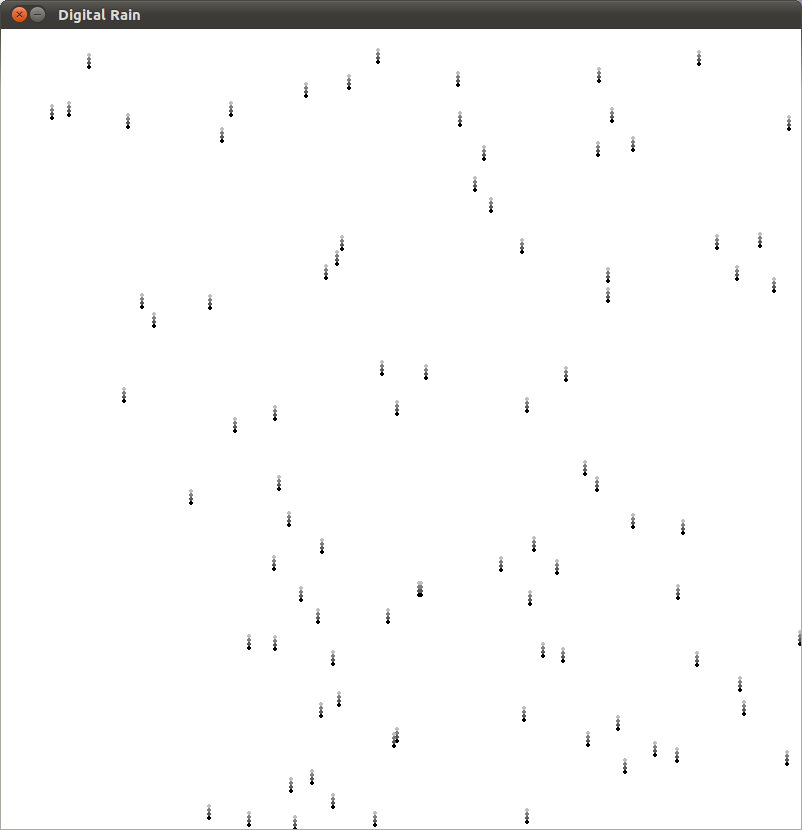
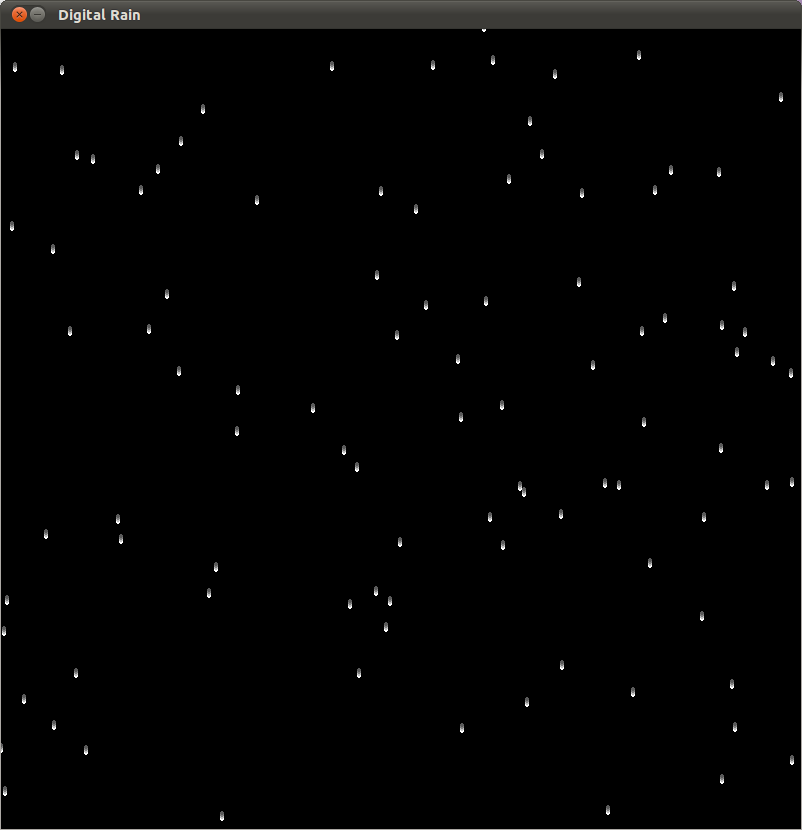
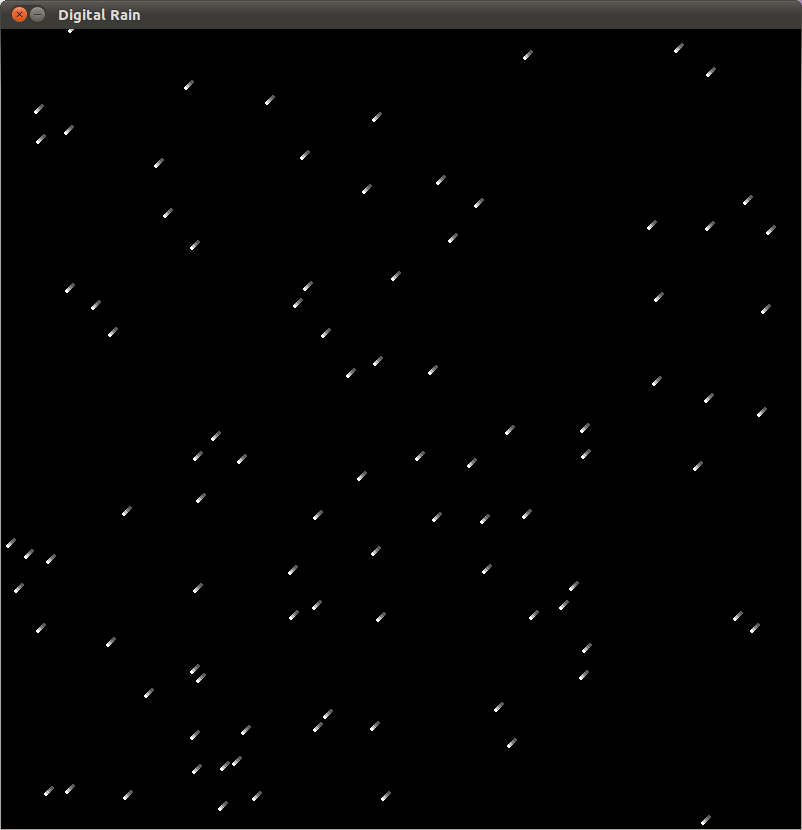
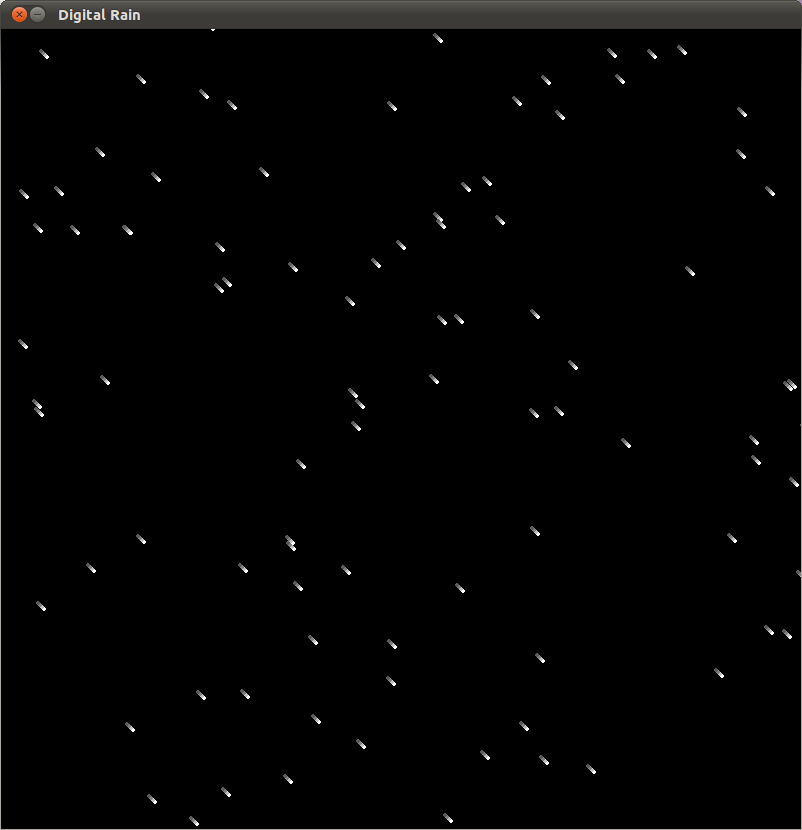
I used ptyhon, pySerial and pygame under ubuntu to create a crude simulation of digital rain with the direction of the wind blowing the rain controlled by the balance of input from 2 step response sensors.
The speed of the rain is controlled by the combined input from the 2 step sensors. The background is controlled by the light sensor - light for daytime when the light level is high and dark fo night when the light level is low.
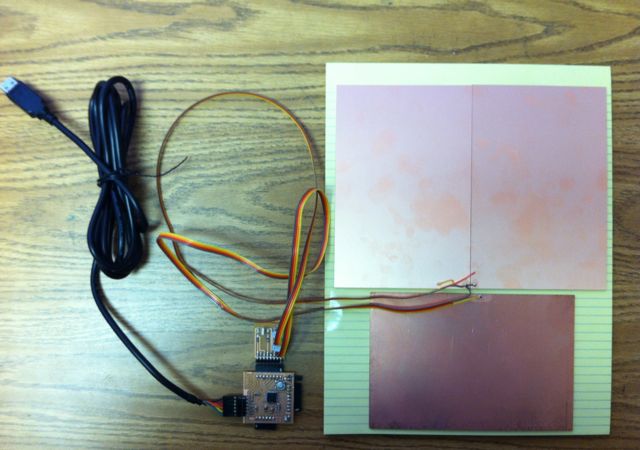
This is the sensor configuration. The light sensor is on the board, the 2 step response sensors are connected to the top left and right plates. The bottom plate is ground.
Python code - the host program - animating_snow4.py.
Sensor micro controller code using FabKit Arduino compatable, modified from last week to output from both step response sensors - step_response_photo_led2.pde.